Why should I install a wireless fuel oil gauge ?
There is nothing more annoying than a break due to a fuel oil shortage.
So to replace a previous gauge or to install a new one, choose the best solution and install a wireless fuel oil gauge.
Required tools :
- A pliers or a wrench
- A tape measure or a logging
- A towel
- A small flat screwdriver
Follow the steps :
- First of all, stop your boiler.
- Remove a plug from your fuel oil tank where you shall reconnect your transmitter later.
- MMeasure the depth of your tank.
- Clean your tape measure before winding it.
- Follow the guidelines to adjust the receiver’s switches according to the depth of the tank.
- Do not hesitate to count a few centimeters less for your strainer is never immersed at the very bottom.
- Plug the receiver and connect it to the transmitter by matching the two color dots.
- The pictograms start appearing up to the maximum, and then there is a bip sound to confirm the good connection.
- Place the gasket on your transmitter and screw it on the tank.
- The transmitter sends the information to the receiver and the pictograms appear to indicate the filling level of your tank.
- Start your boiler and that’s it, you can now know the filling level of your boiler.
- DAnd when your tank is emptying, the pictograms flash to inform you about this.
Which product is shown in this video ?
It is the TANKALERT wireless fuel oil gauge that you can find on the website of Expert by Net® with the code 909407
The advantages of this product :
- No tube to install
- No more fuel shortage
- Easy installation
- Quick installation




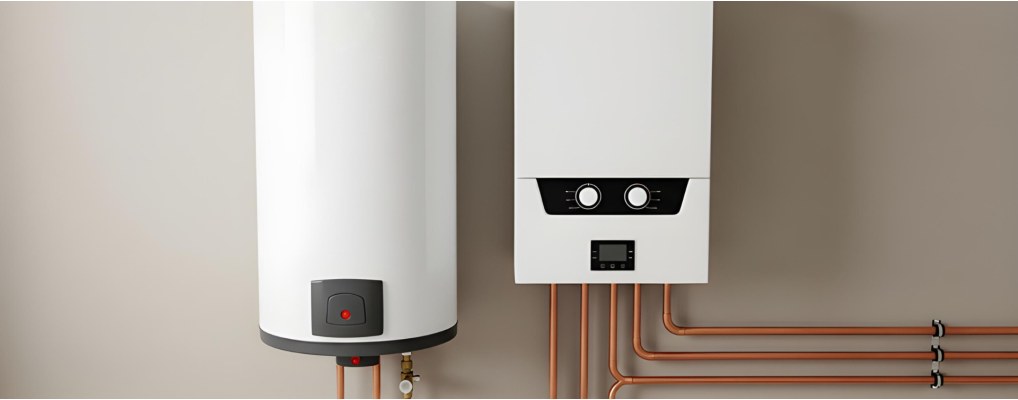
 How to install a wireless fuel oil gauge ?